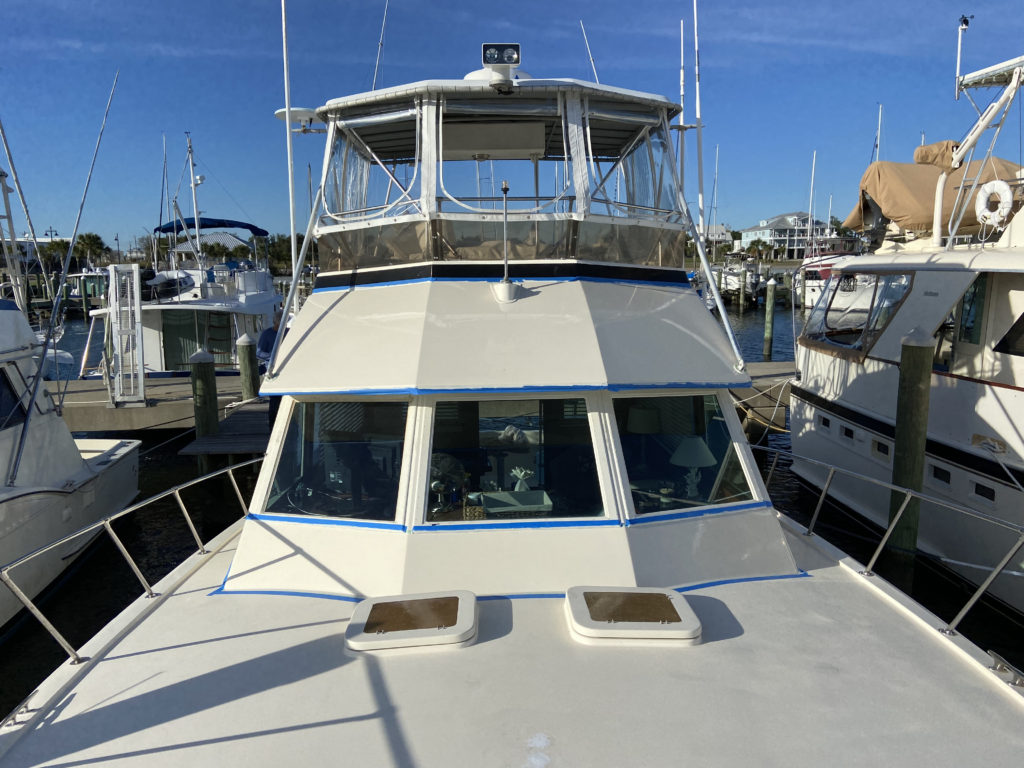
Bay Marine Boat Works in Biloxi, Mississippi painted all of the decks of Encore during the first half of 2020. They did an excellent job, and we knew that at some point we would need to paint the flybridge and cabin sides. Due to the length of time the project would require in the boatyard, and also the cost, my dad and I decided to complete the painting on our own.
We’re working on this project together in the slip at Pass Christian Harbor using Awlgrip paints and primers. Since the painting is being done in the slip, rolling and tipping for the application was the only option.
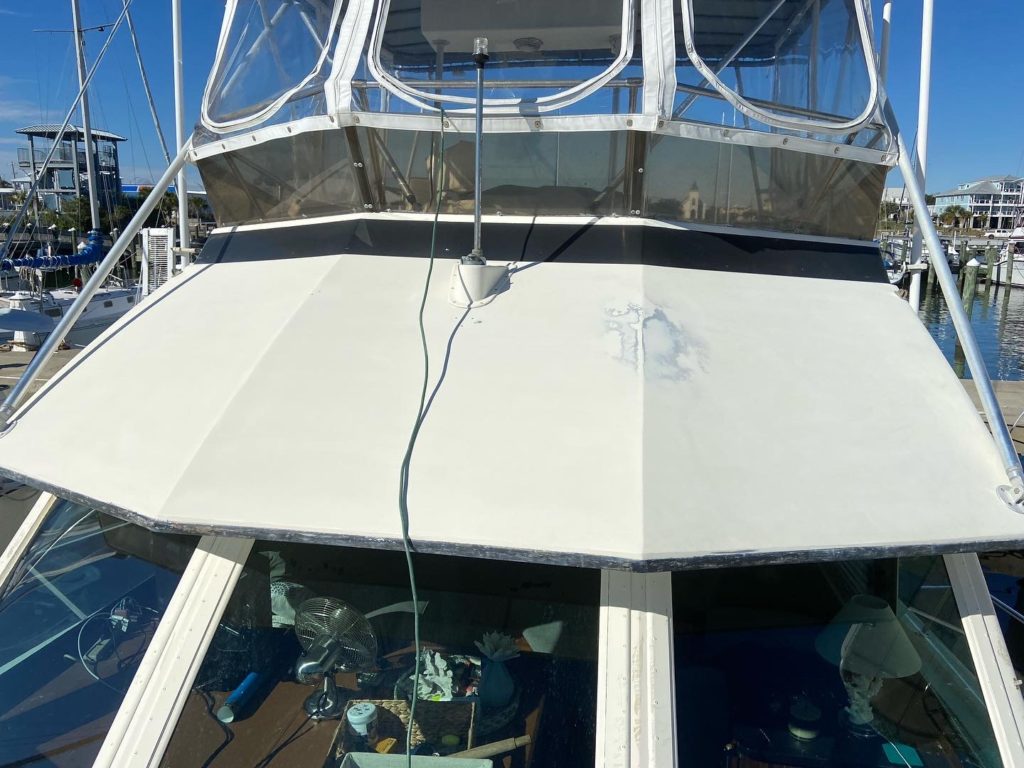
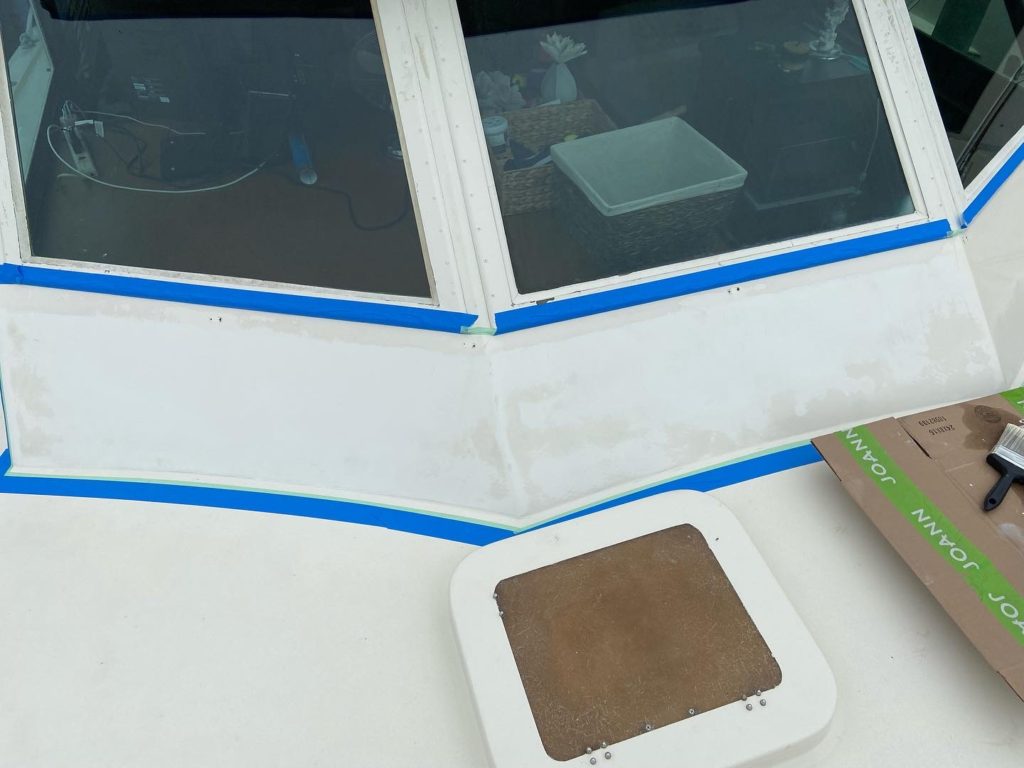
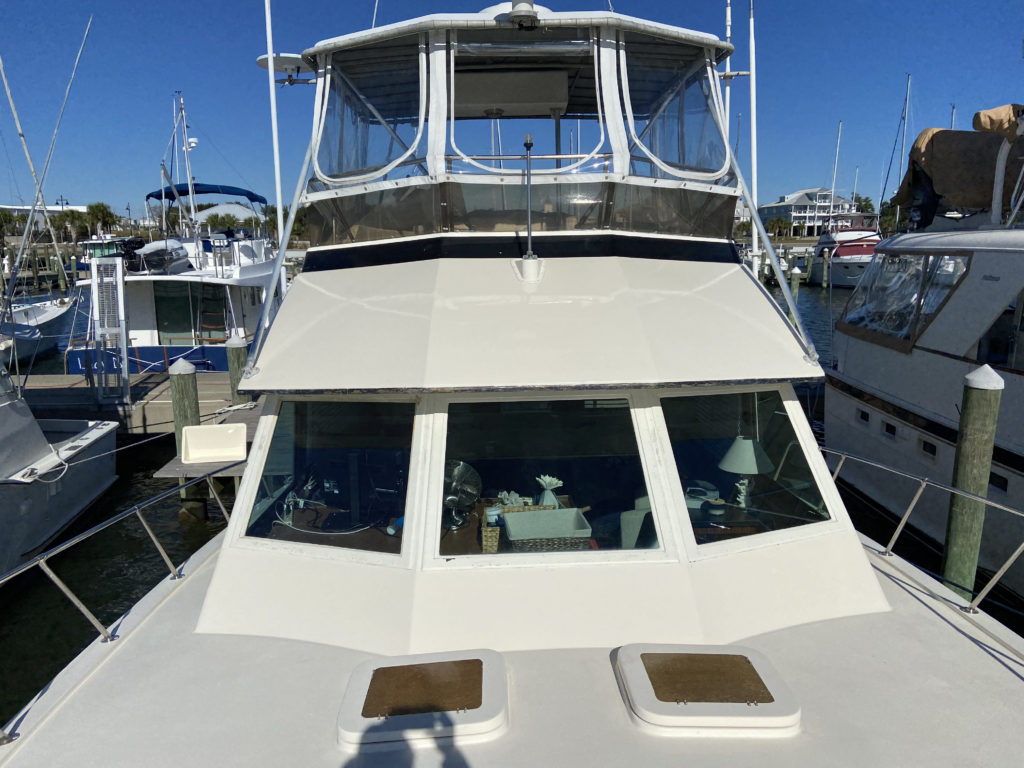
Neither of us had any experience using Awlgrip paints prior to this project. A lot of research was undertaken and many Youtube videos were watched prior to beginning the work. We began with the forward side of the flybridge and area just below the forward windows.
Prep
Sanding / Fill
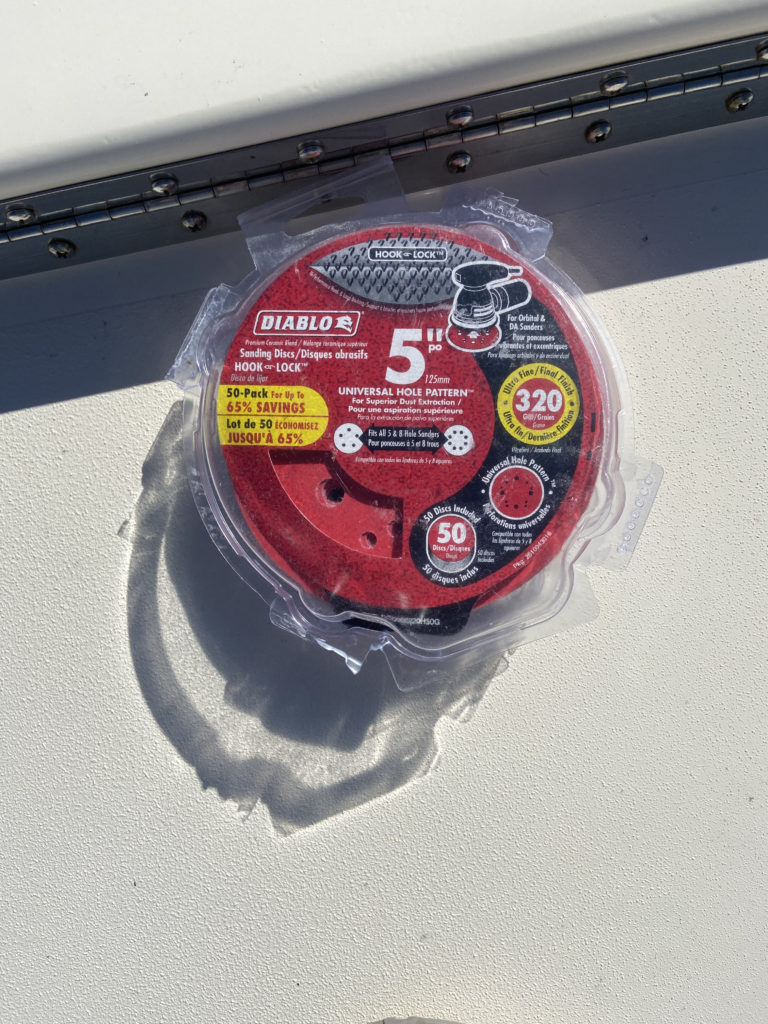
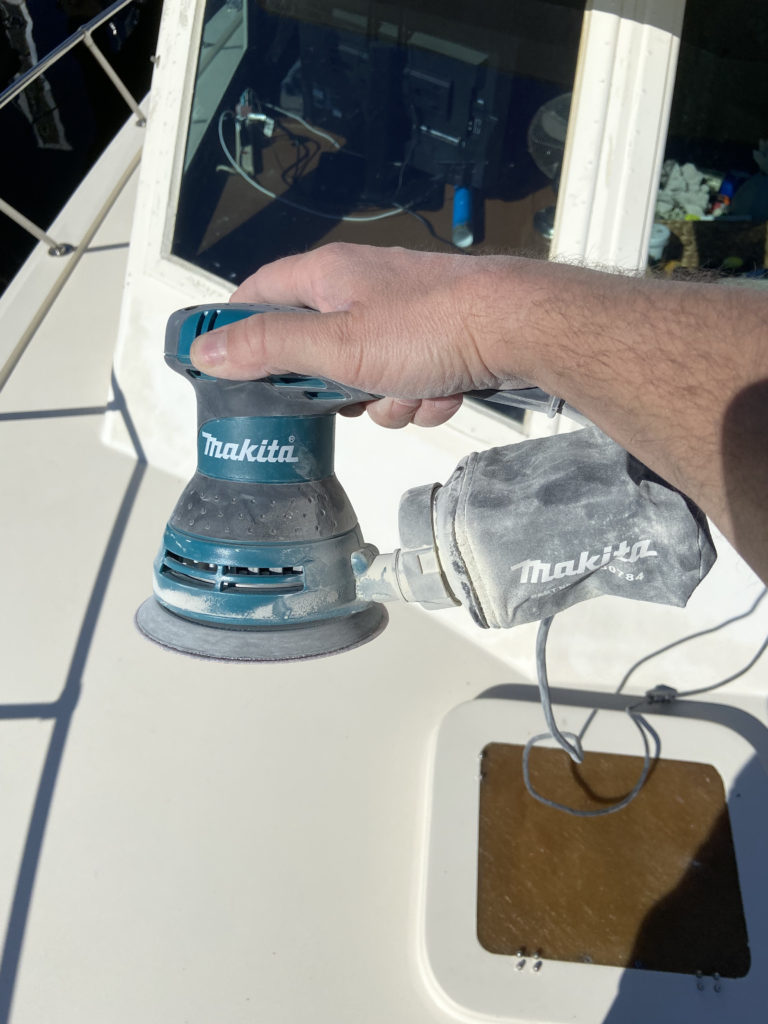
I followed the Awlgrip recommendations for the prep and application process. The first step was to sand the surfaces to be painted with 200 grit sandpaper followed by another sanding with 320-400 grit. A Makita orbital sander was used with Diablo 200 and 320 grit sanding discs. I also hand sanded, using 400 grit, parts of the surface that did not feel perfectly smooth after the pass with the 320.
A small amount of Marine Tex Epoxy Putty was used to fill holes in the fiberglass where unneeded hardware was removed. It worked well and sands to a perfectly smooth finish.

Washing / Tack Cloth and Taping
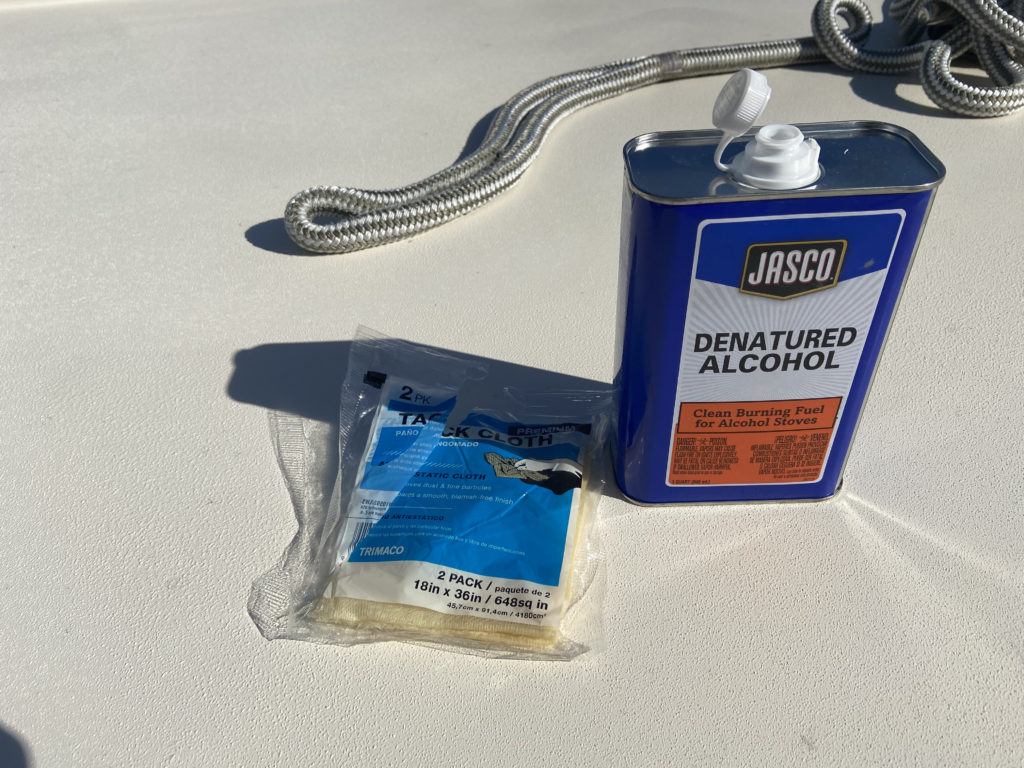
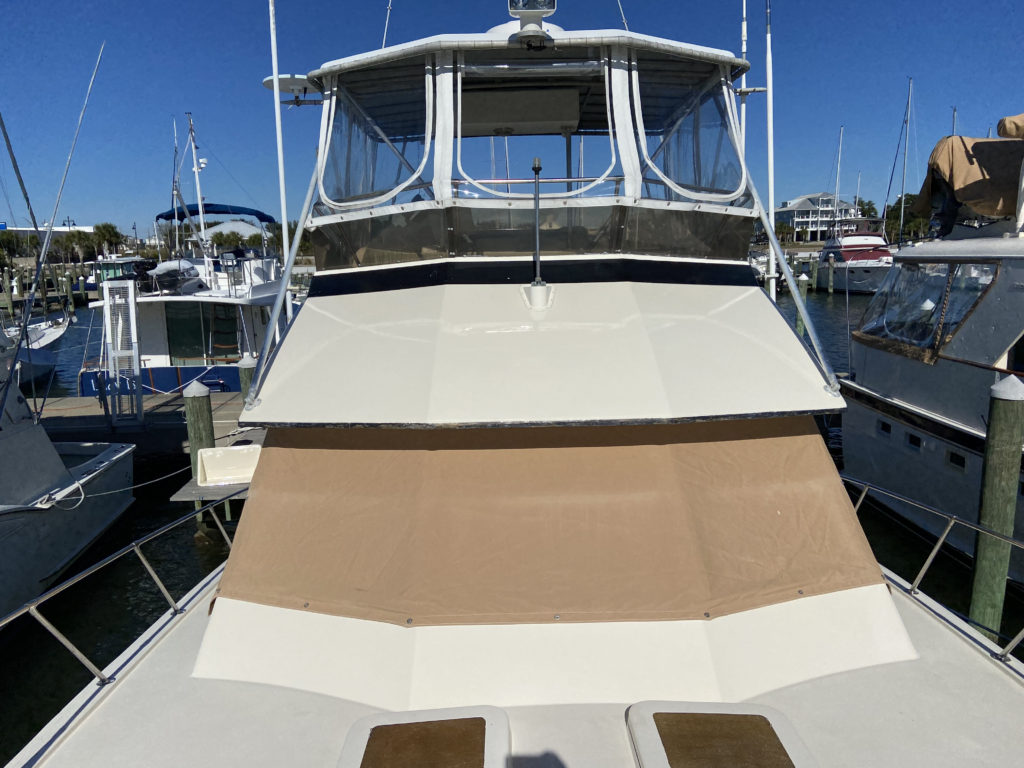
Once the sanding was completed, I thoroughly washed and rinsed all of the area that was to be painted in order to remove as much dust as possible. Any remaining dust was removed by wiping the surfaces using tack cloths and denatured alcohol.
3/4” fine line tape was used to create as minimal of a paint buildup as possible at adjoining areas. 2” painter’s tape was placed on top of the fine line tape to help hold it in place and to provide for a wider border.
Paint
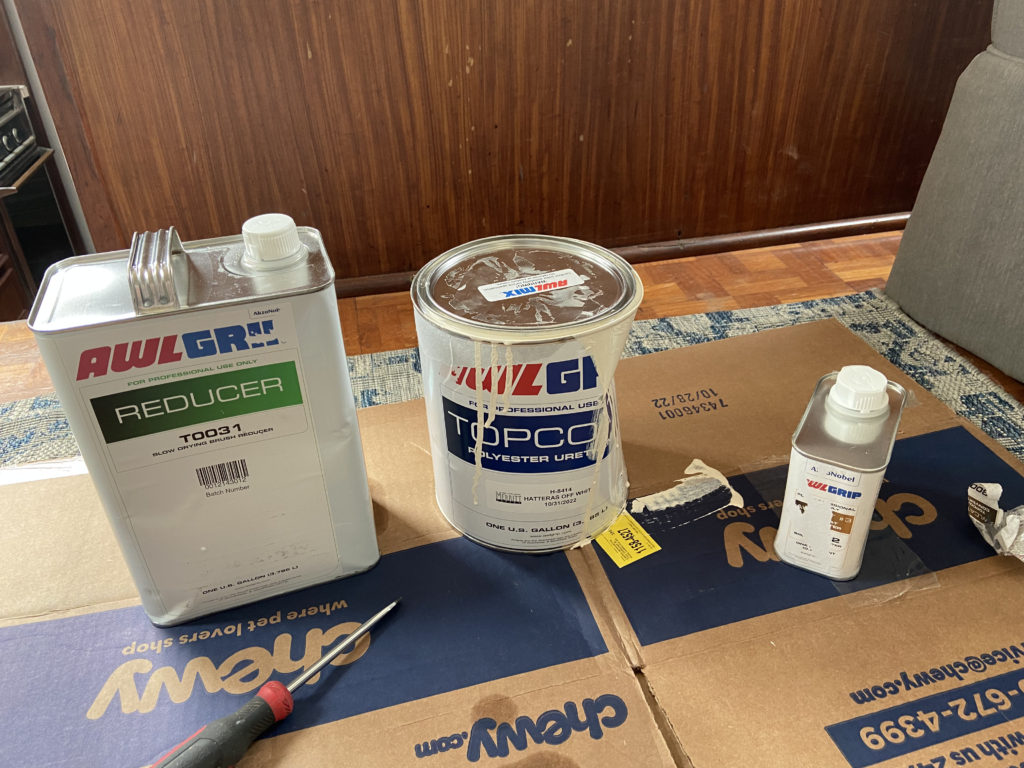
We used Awlgrip Topcoat Polyester Urethane in the “Hatteras off white” color. This was the first three-part paint that we’ve ever used. It includes a topcoat base, topcoat converter, and brushing reducer. We followed the Awlgrip mixing ratio recommendation, which was two parts base to one part topcoat converter. The brushing reducer can be used from anywhere between 1/3 to one part. The mixing ratio that worked for us ended up being 2:1:0.5.
Application
To apply the paint, we used 4″ foam rollers with 4” brushes for tipping. Once the brushing reducer is added, the consistency of the paint becomes very thin. A small amount goes a long way, which I did not realize for the first coat. I thought I had mixed a conservative amount but still had to throw some away.
First Coat
As instructed by the pros in the Youtube videos I watched, I applied the paint in 3’x3’ sections. Once the area was fully covered by the roller, I used the tipping brush in long horizontal strokes followed by long vertical strokes to finish. Having a second set of eyes and good lighting is very helpful to ensure all of the small bubbles are brushed out. Also, while the paint was still slightly tacky, I removed all of the tape.
Second Coat
As per the Awlgrip instructions, I lightly sanded the first coat with 320-400. Unfortunately, sanding is always required between coats, which certainly adds to the time this project takes to complete. Once the sanding was finished, the area had to be re-washed and re-wiped with a tack cloth/denatured alcohol.
After the washing was complete, I applied new fine line and masking tape. I then applied the second coat of paint in the exact same manner as the first coat. Awlgrip recommends at least two coats. Luckily, everything looked great once the second coat was applied and a third was not necessary.

Lessons Learned
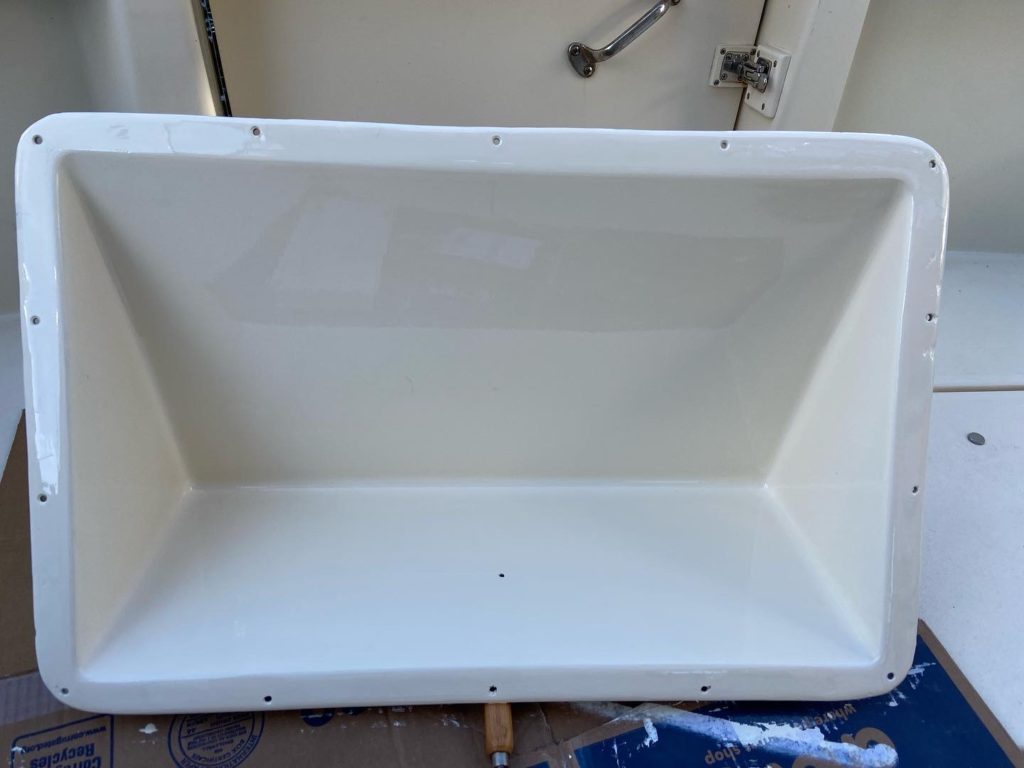
The final product looked great once completed. It dries very smooth, although not as smooth as what was sprayed in the boatyard, it was close. If the rolling and tipping process is your only option, it will still provide an impressive paint job. We were very happy with the results. These are a few of our takeaways:
Air temperature and sunlight had a very noticeable effect on the drying time. The first coat was applied with an air temp of 65° and overcast sky. Once applied, the paint was workable for about 20 minutes and remained tacky for a couple of hours. The second coat was applied in direct sunlight at an air temp of 75°. It began to dry within minutes of applying it. Due to that, I was only able to work on very small sections at a time to ensure what I had rolled on was not tacky before I went back over it with the tipping brush.
Like with any paint project, the prep process is extremely important. It is also very laborious. The sanding, washing, and taping will consume a lot of time. Although what was painted for part one of this project was a relatively small area, it still took a few hours of work on three separate days to complete.
Overall, the finished paint job was well worth the work that went into it. Part two of this project will include the bulkhead separating the cockpit from the salon and possibly the helm area on the flybridge.
Pingback: Hatteras Convertible Refit - Awlgrip Paint Part 2 - The Captain's Manual
Pingback: Hatteras Yachts - Fiberglass Deck Repair - The Captain's Manual