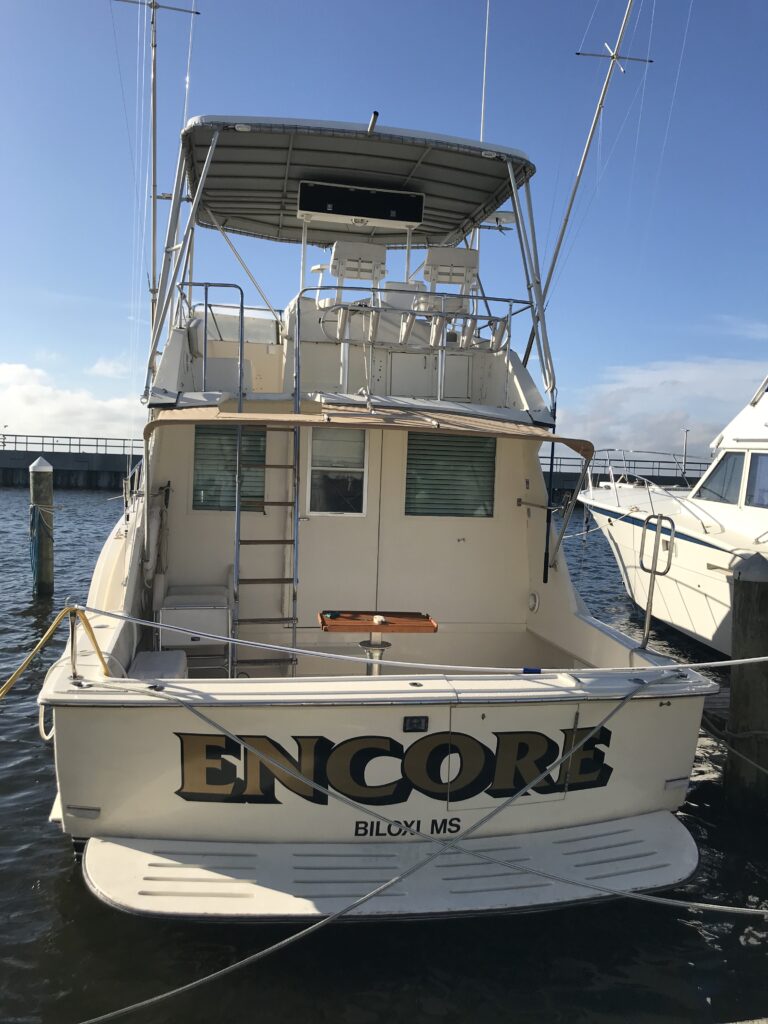
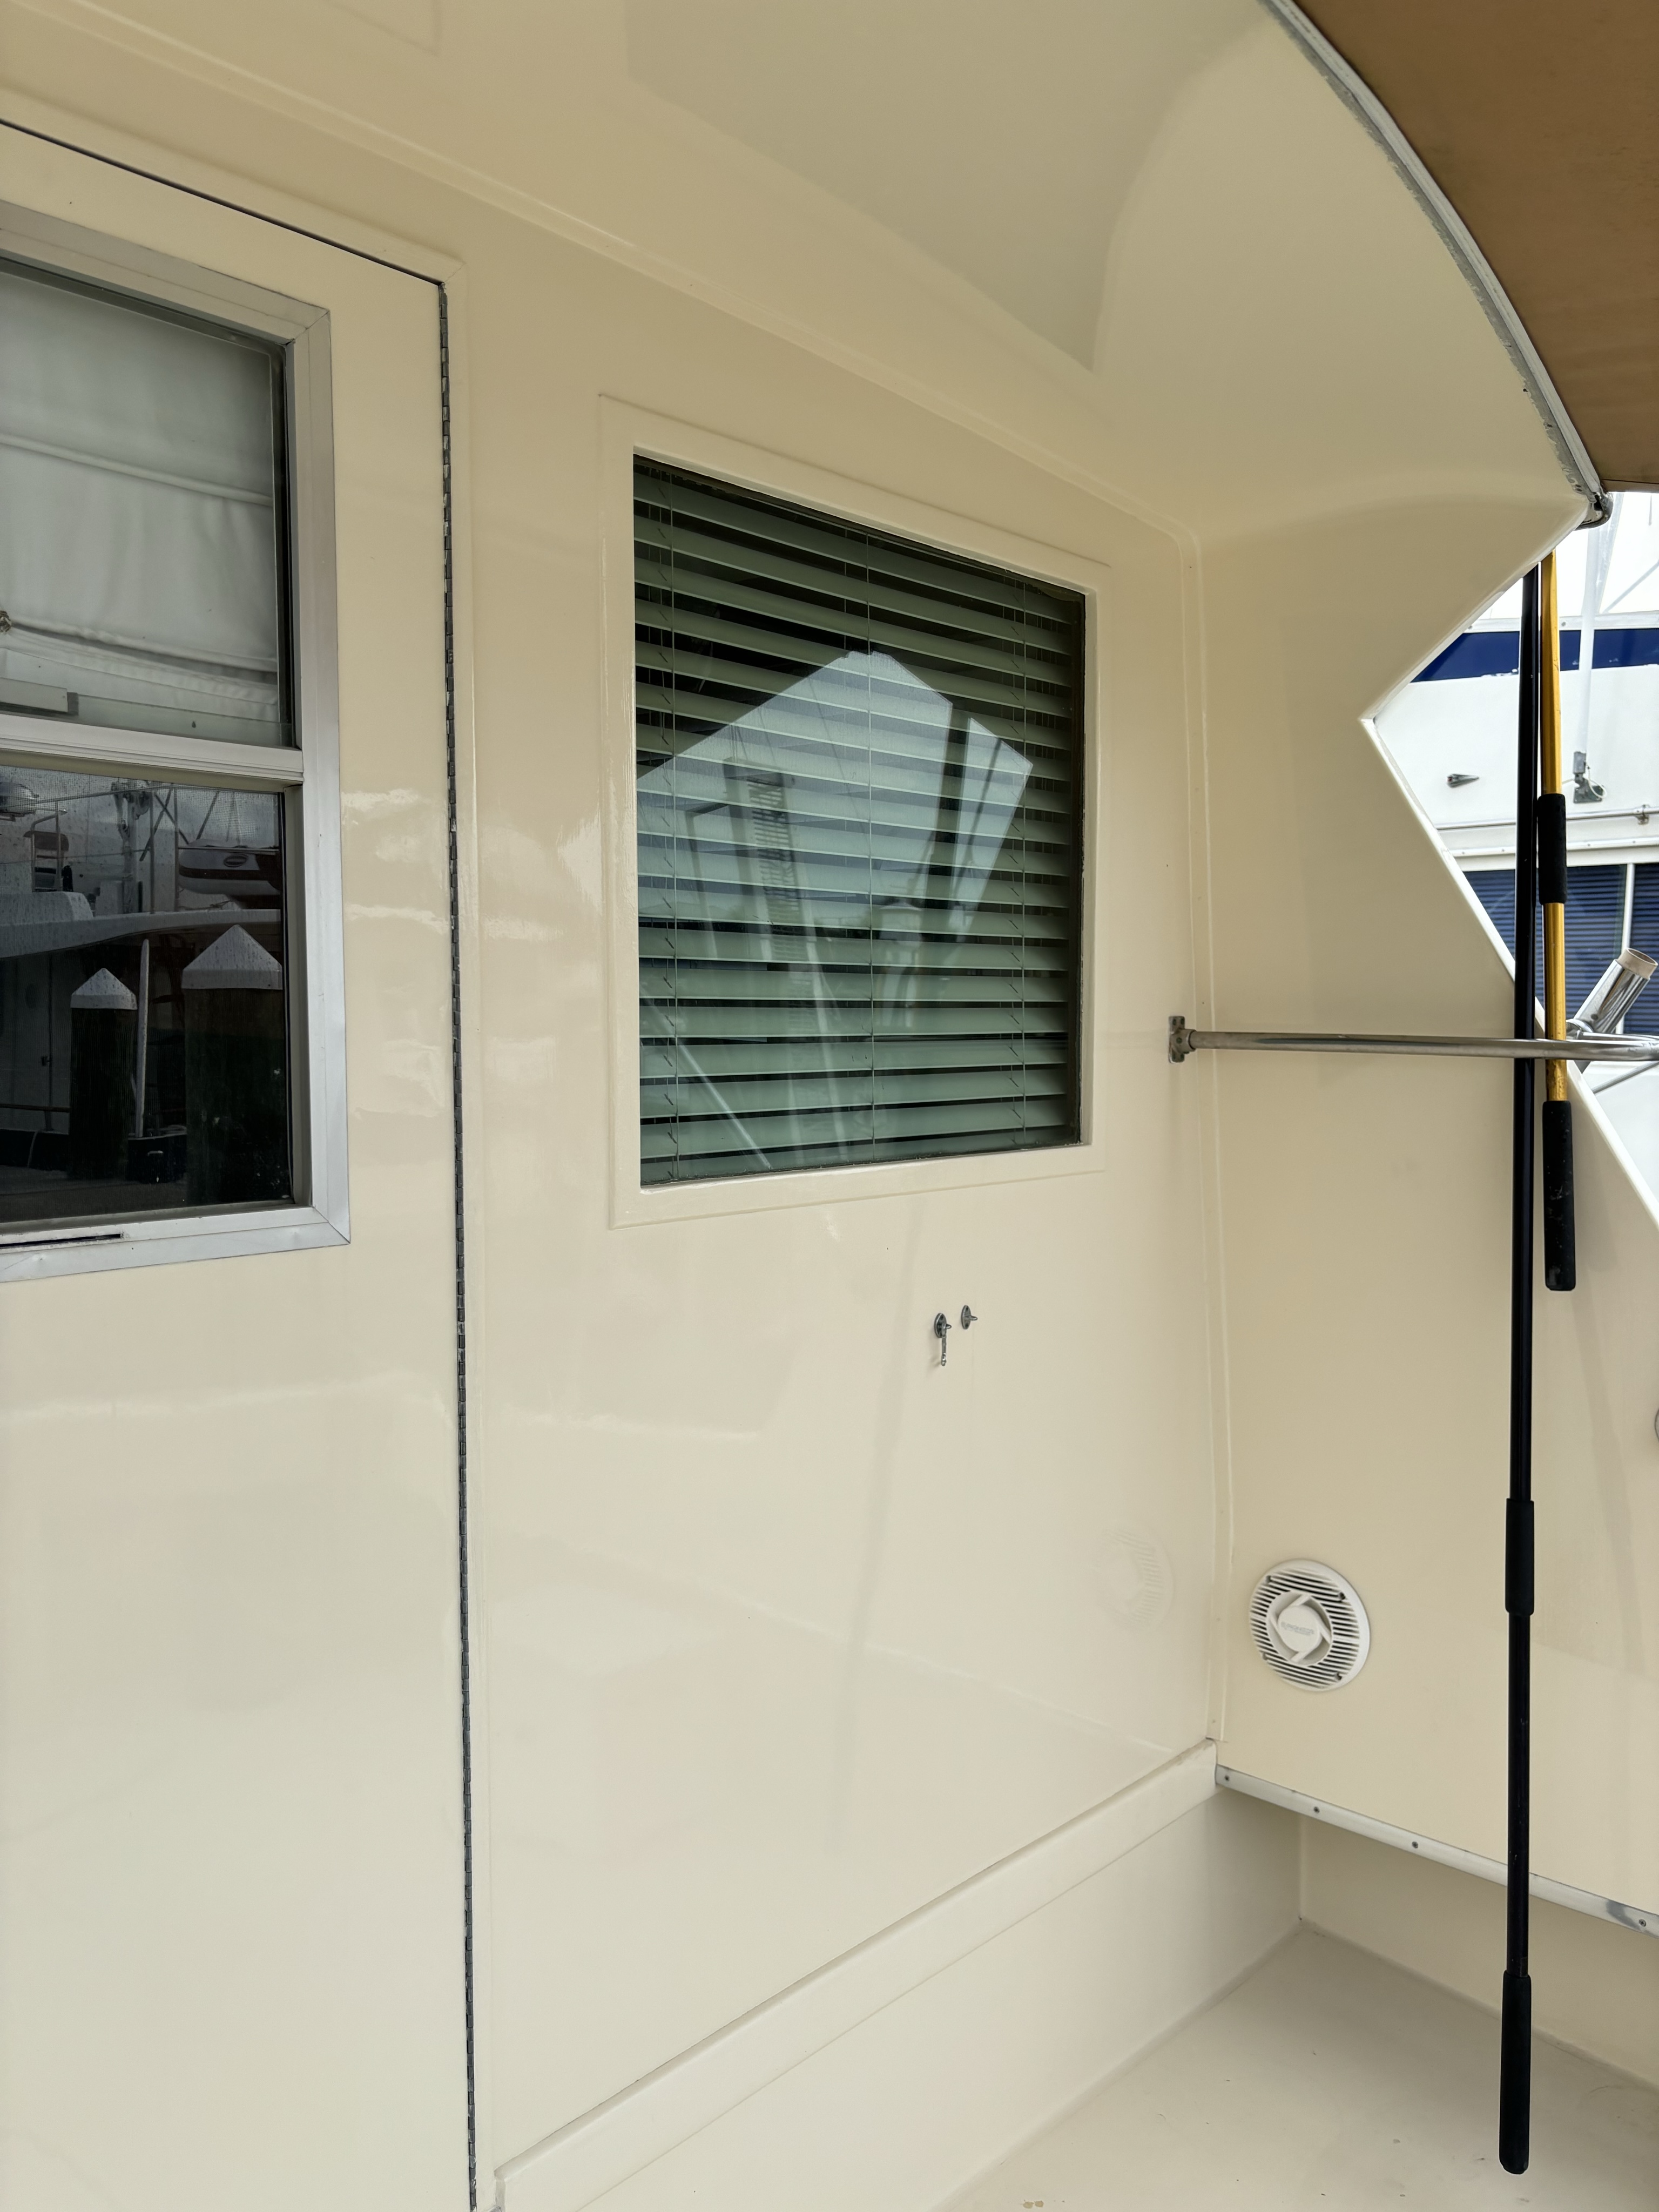
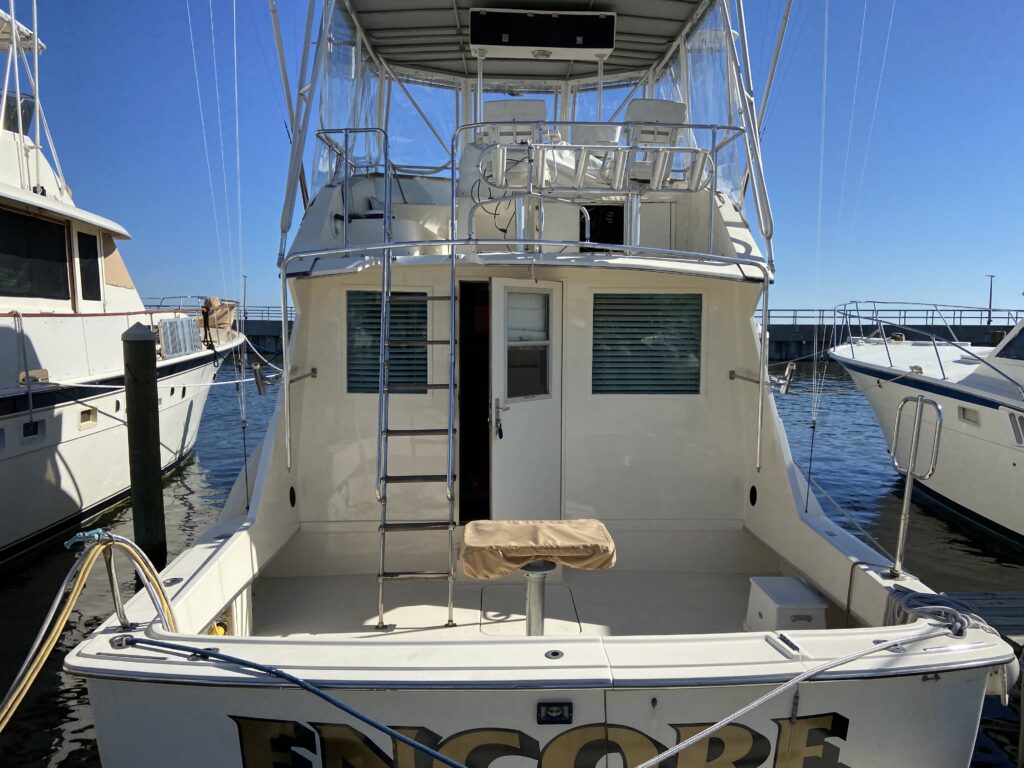
Part 2 of the paint project was the bulkhead separating the salon from the cockpit. It was similar to Part 1 in that there was very little hardware removal necessary and only basic surface prep required. The fiberglass was in very good condition with no scratches or chips.
Part 1 and Part 2 were definitely the low hanging fruit of what needs to be painted, but also allowed for quite a bit of learning before moving on to the cabin sides and fly bridge. Both of those areas have a lot of hardware/fixtures that will need to be removed and/or taped off.
Prep
Sanding/Fill
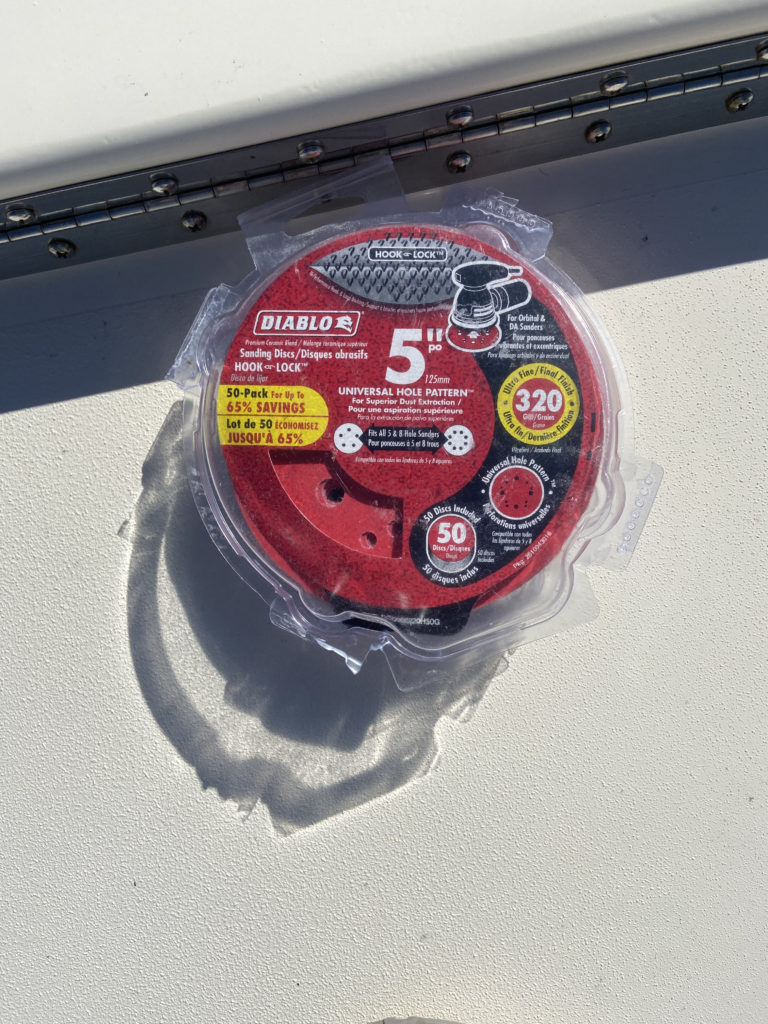
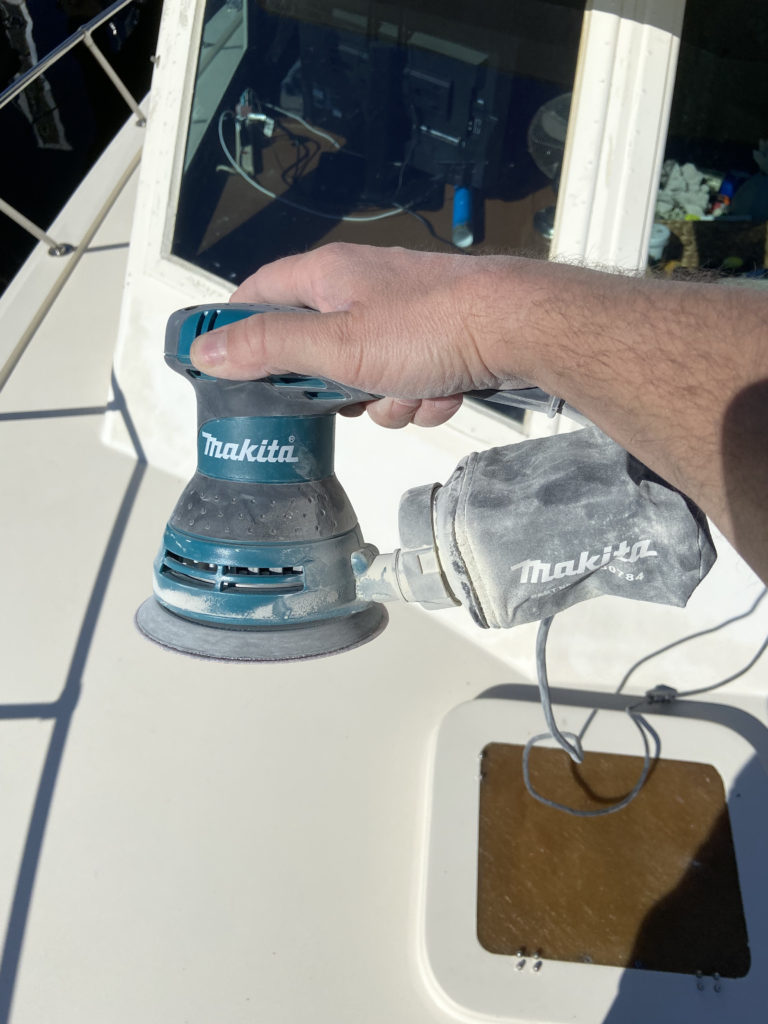
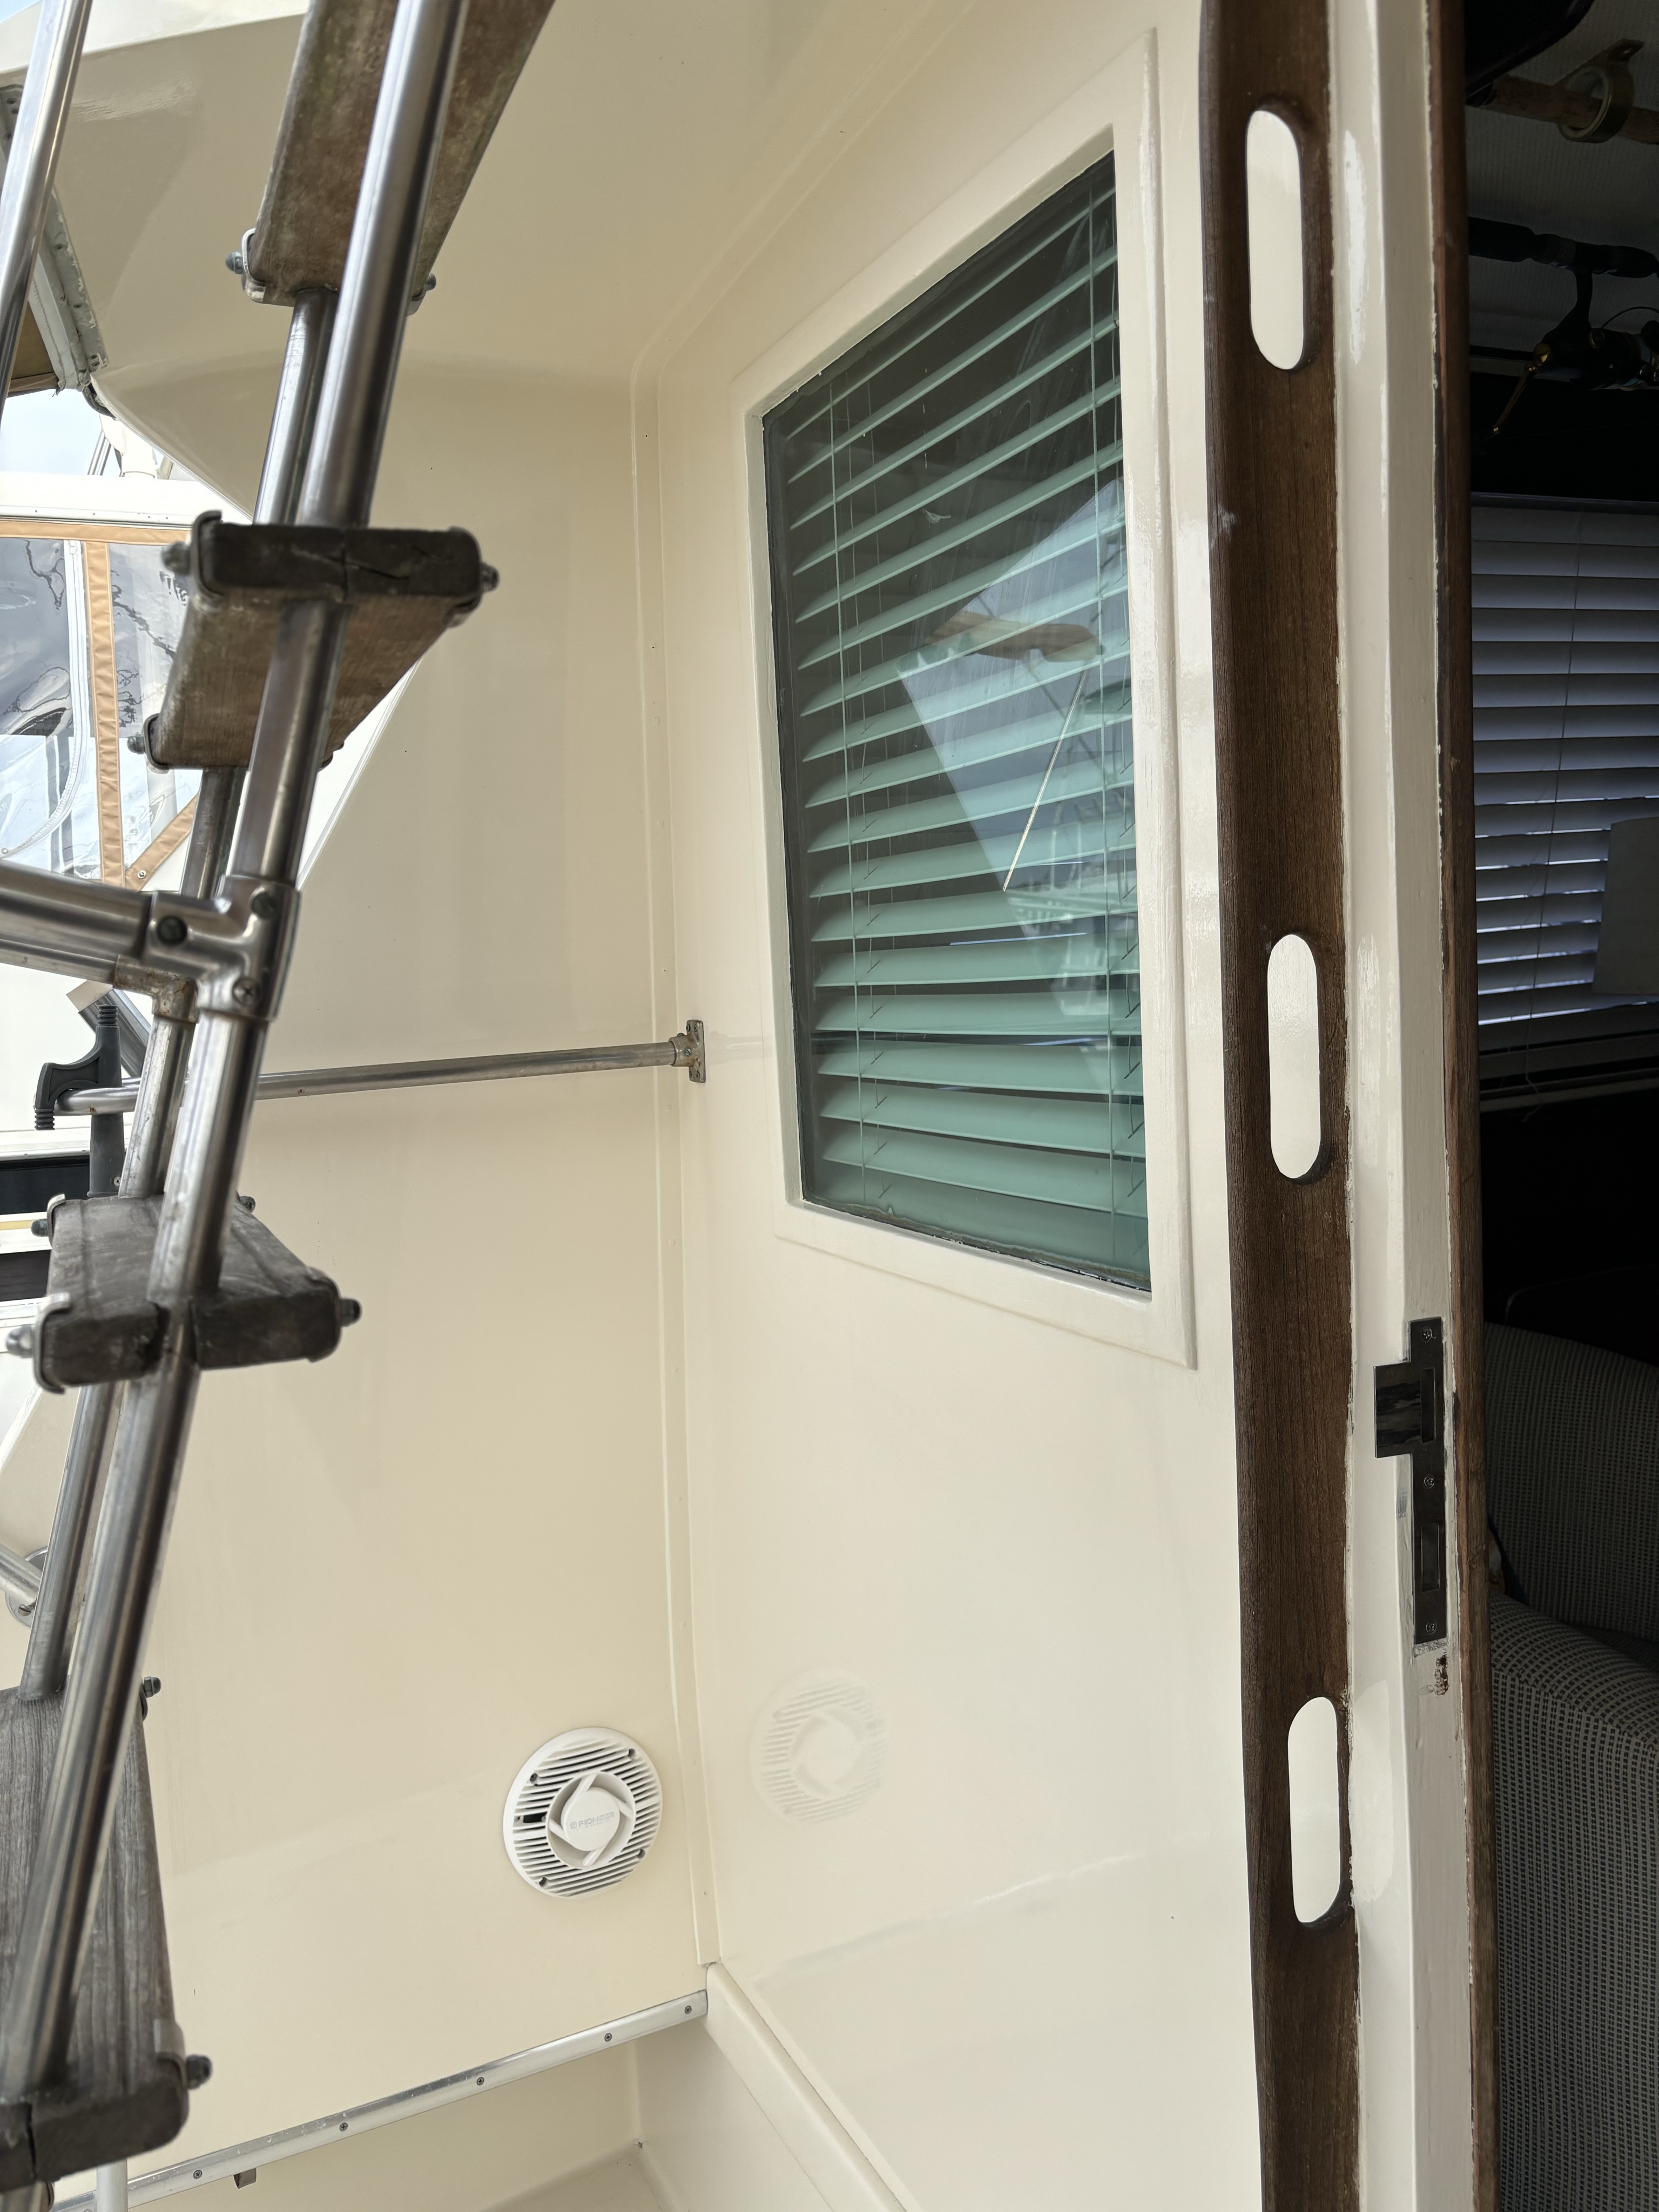
The only items needing to be removed were the overhead light over the salon door and the the frame for the cockpit shade. Both came off easily. I then went right into the first pass with the Makita sander using 200 grit Diablo sanding discs.
After the first pass with the sander, I used Awlgrip Awlfair to fill to fill in two small scratches. One scratch caused by a gaff tip the previous summer and another where the bulkhead meets the cabin side.
I used Marine Tex Epoxy Putty in Part 1 but decided to go with Awlfair this time. I found it to be easier to spread and sand than the Marine Tex. It was also workable for longer. I do think the Marine Tex would be better for filling deeper gouges and chips. For minor surface work the Awlfair worked better.
Wash and Tack Cloth
Once the surface filling was complete, I sanded the entire bulkhead and overhead with 320 grit discs. I then thoroughly washed and rinsed all of the area that was to be painted in order to remove as much dust as possible. Any remaining dust was removed by wiping the surfaces using tack cloths and denatured alcohol.
Paint
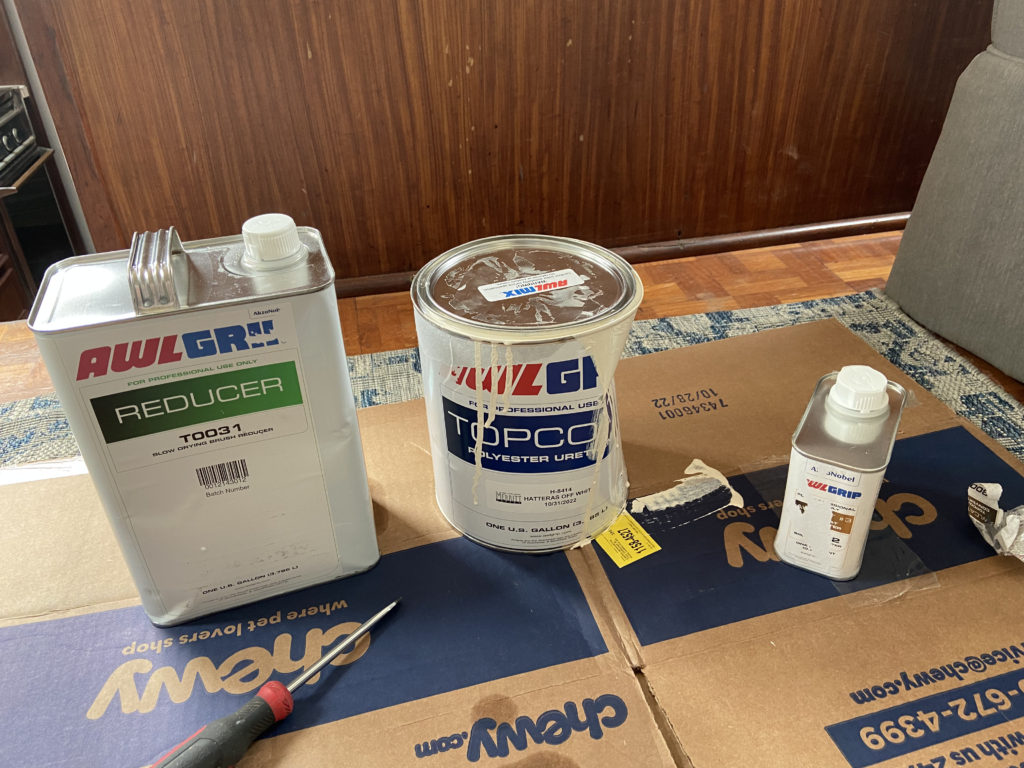
I used the same Awlgrip Topcoat Polyester Urethane in the “Hatters Off White” color that I used in Part 1. Although the paint is very expensive it does go a long way. After completing this project, plus what was completed in Part 1, 3/4 of the original gallon still remains.
I used 4” foam rollers and a four inch tipping brush for both coats. I applied the paint in 3’x3’ sections. Once the area was fully covered by the roller, I used the tipping brush in long horizontal strokes followed by long vertical strokes to finish. Unfortunately, sanding with 320-400 grit paper or discs is required between each coat.

Lessons Learned
There was one major difference between Part 1 and Part 2. The area painted in Part 2 is vertical as an opposed to an angled area painted in Part 1. If I had too much paint on the roller, runs would develop on the bulkhead. That did not occur in Part 1 when I was painting the forward side of the fly bridge. I had to be careful to only have a small amount of paint on the roller for each pass.
Overall, the finished product looked excellent. This was only my second project using the rolling and tipping method. I am still surprised how smooth and flat the paint is once dry. It’s not quite as flat as it would be if sprayed, but it’s pretty close.
Pingback: Hatteras Yachts - Fiberglass Deck Repair - The Captain's Manual